
Restoration
Restoration step by step
Below we outline the standard procedure for a complete vehicle restoration. Each stage is backed by technical documentation that is available for inspection – all to ensure the highest quality of service and a perfectly restored car.

- 01
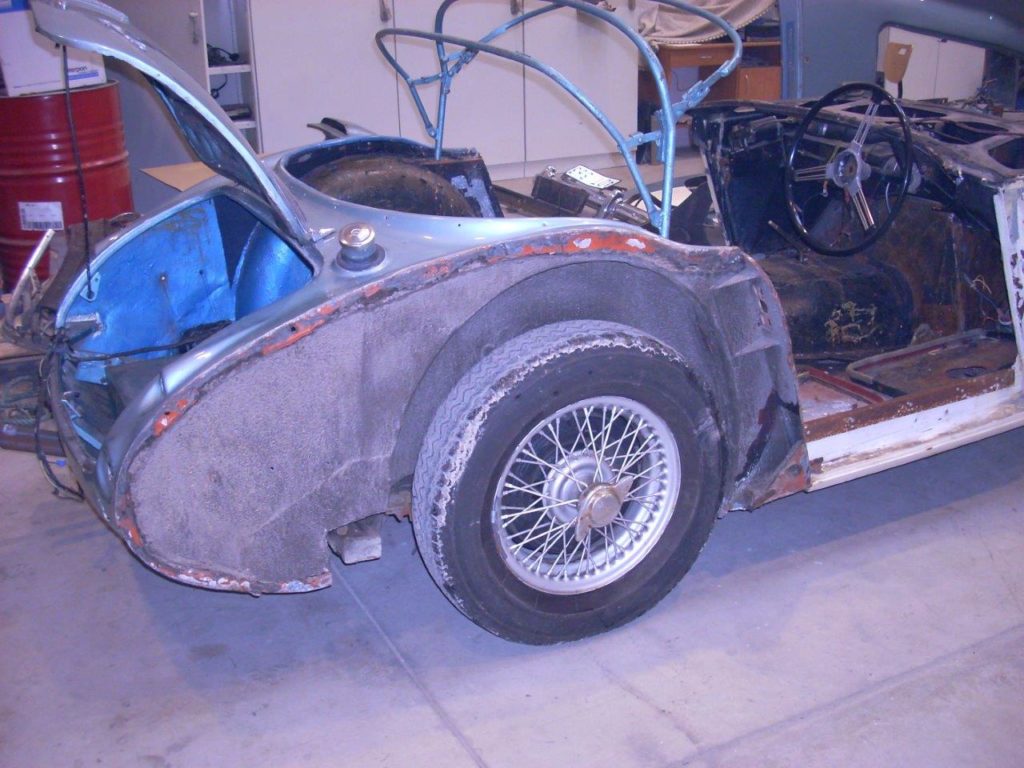
Dismantling the car
The easiest stage, but one that demands care, because this is where we can already identify which parts will need replacing and sourcing.

- 02
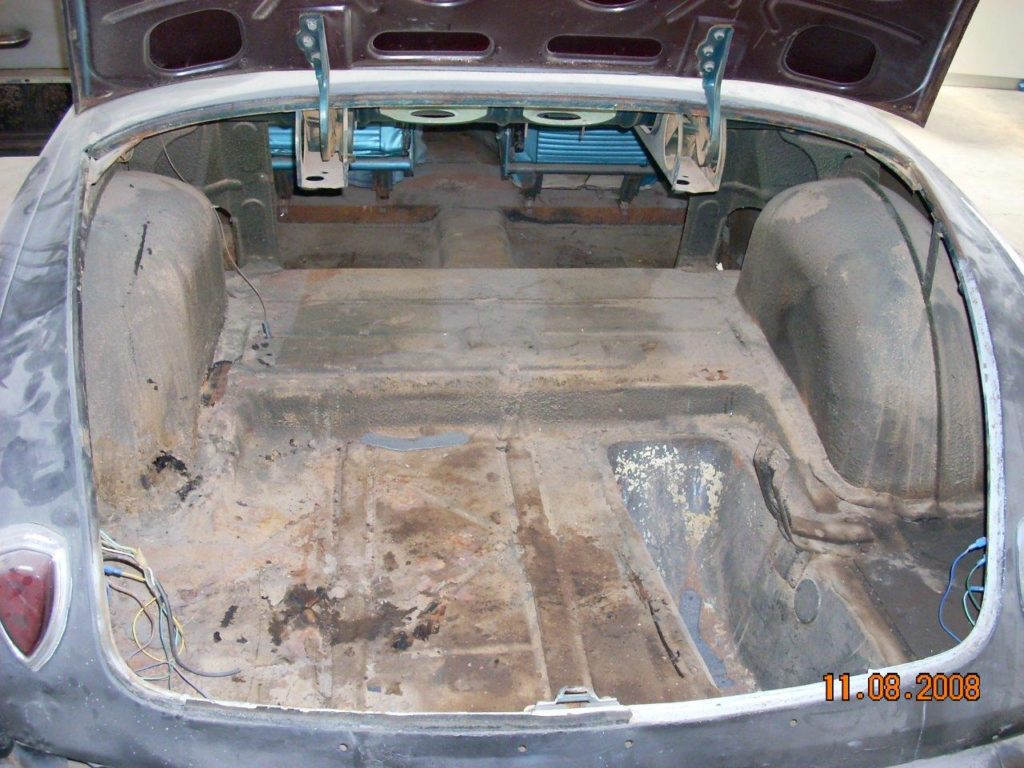
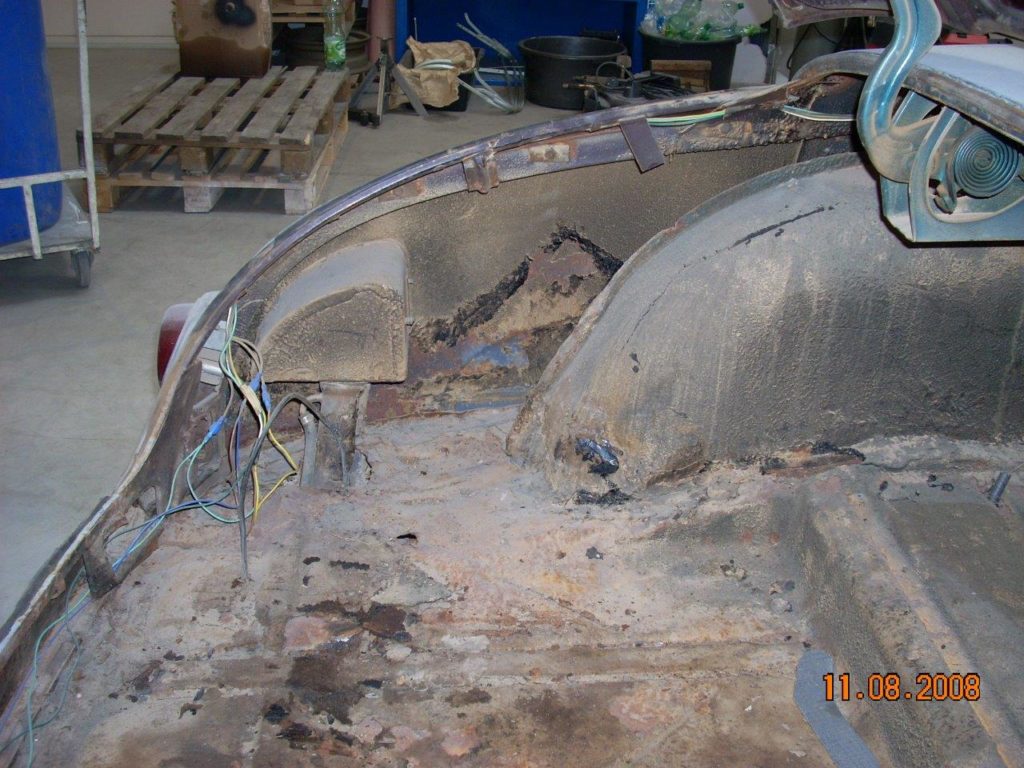
Sandblasting / paint removal
Only after this stage does it become clear how much work the bodywork really needs. It is common for a car that looks good in photographs to turn out to be in genuinely poor condition. Covered-up holes in the floor or kilograms of filler from earlier, unprofessional repairs are a frequent find.
- 03
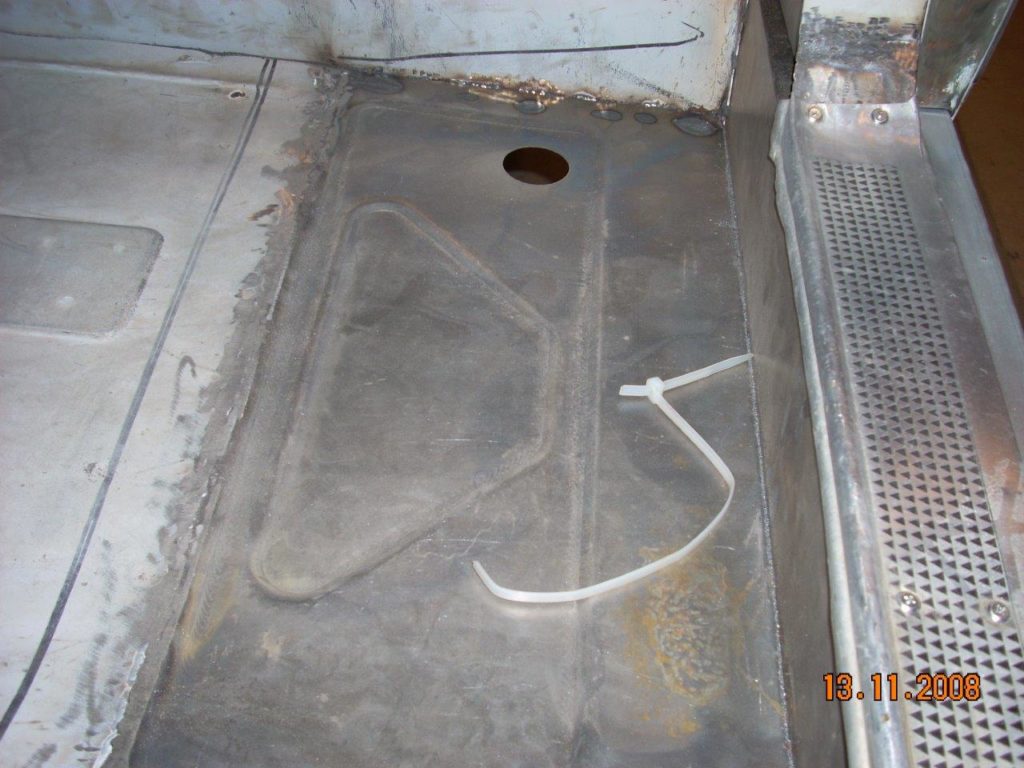
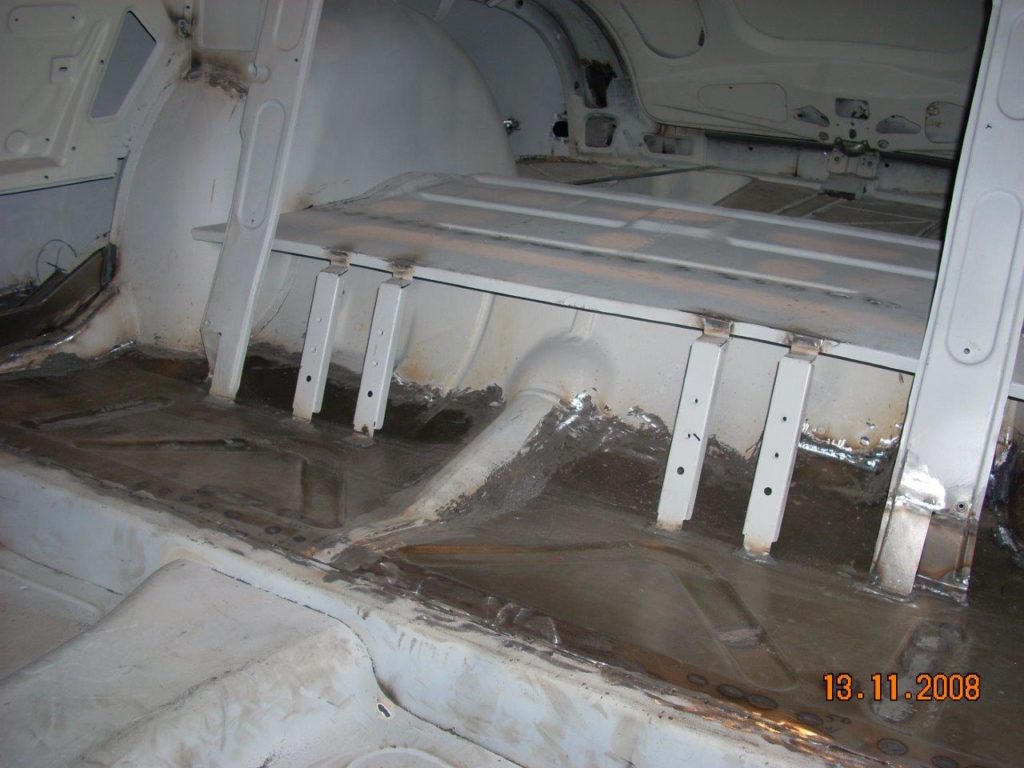
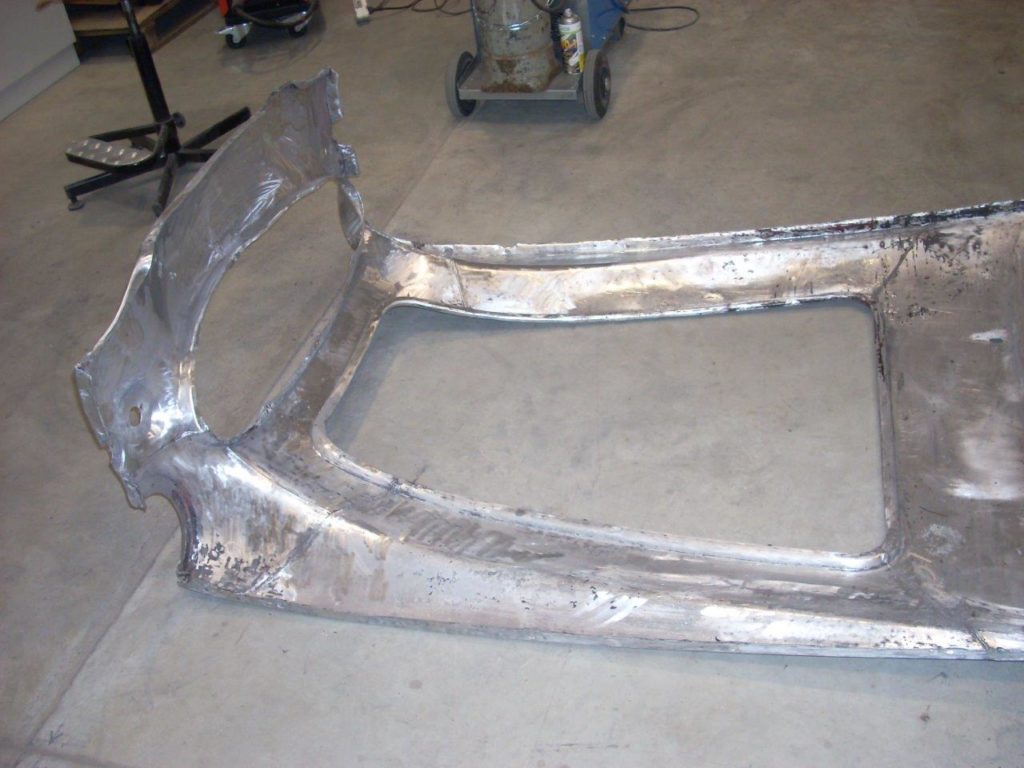
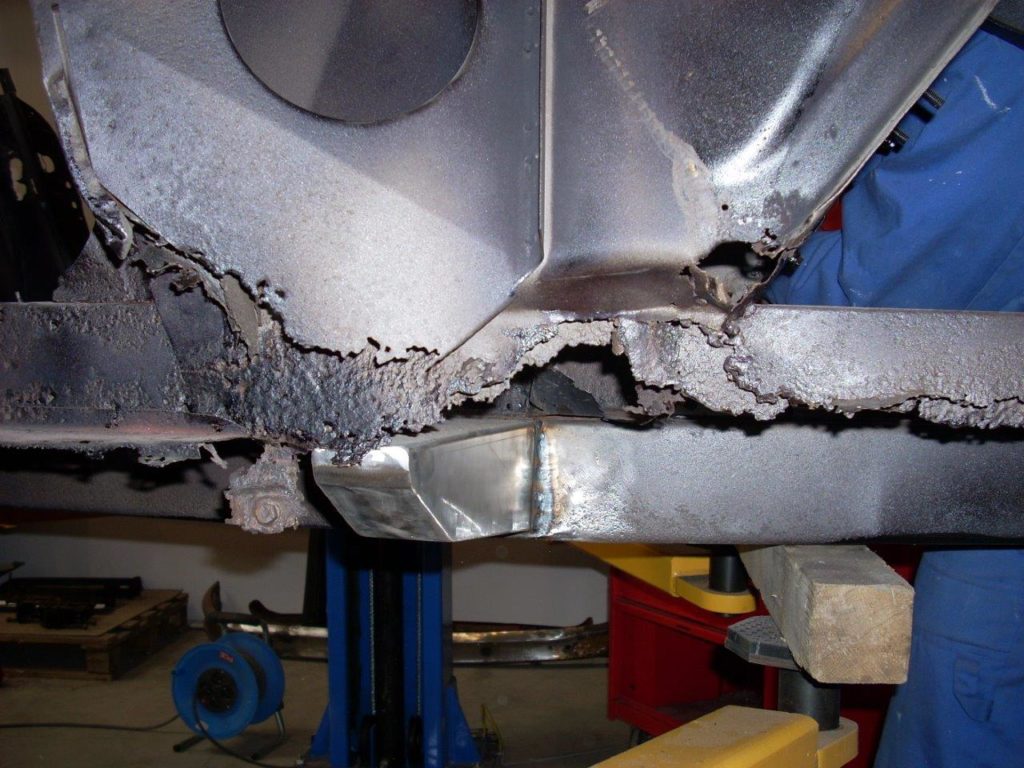
Panel work
Replacing skins, floor pans and sills, or beating out a wing – this is everyday work here. This part of the restoration deserves plenty of time so that the end result is as good as it can be. We use new technologies to raise the quality of our restorations, but we have not abandoned proven traditional methods such as lead loading.
- 04
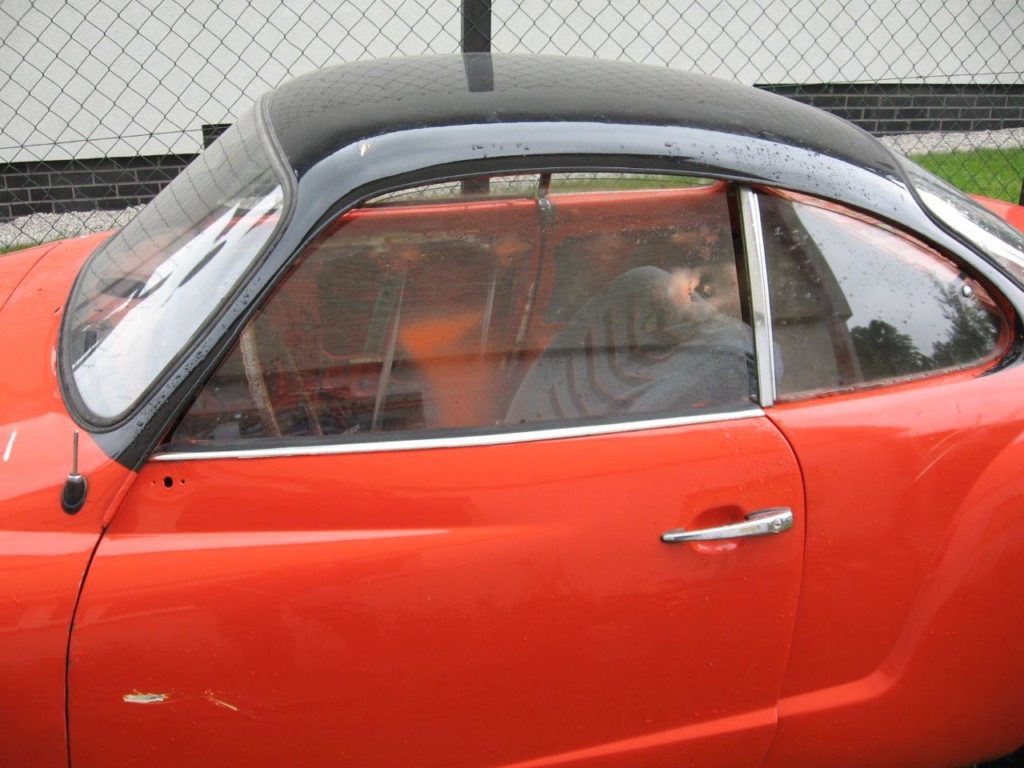
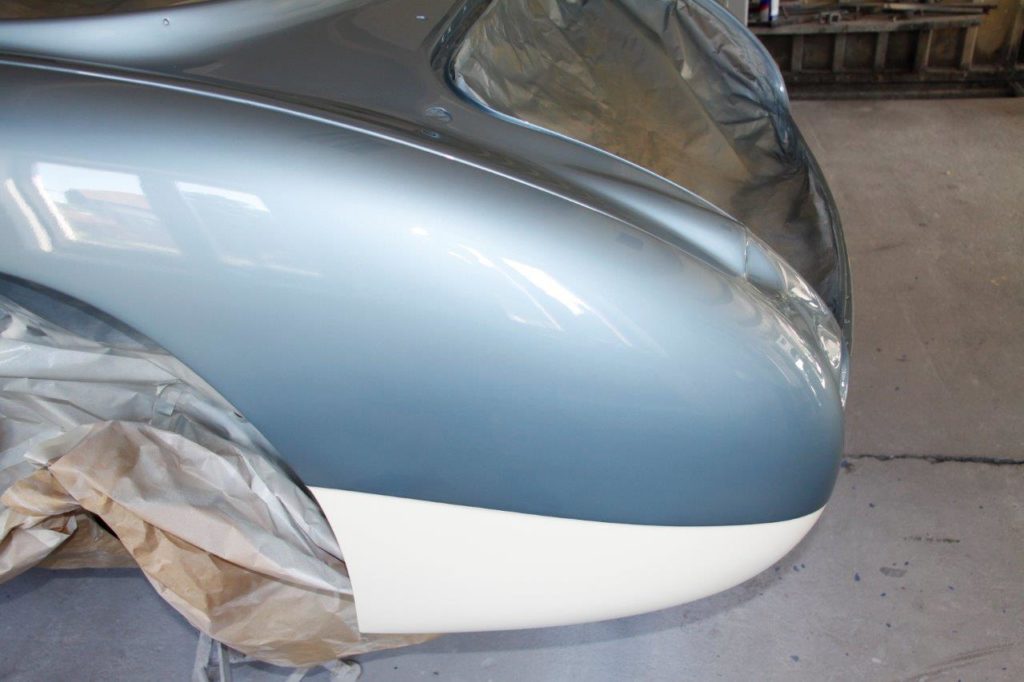
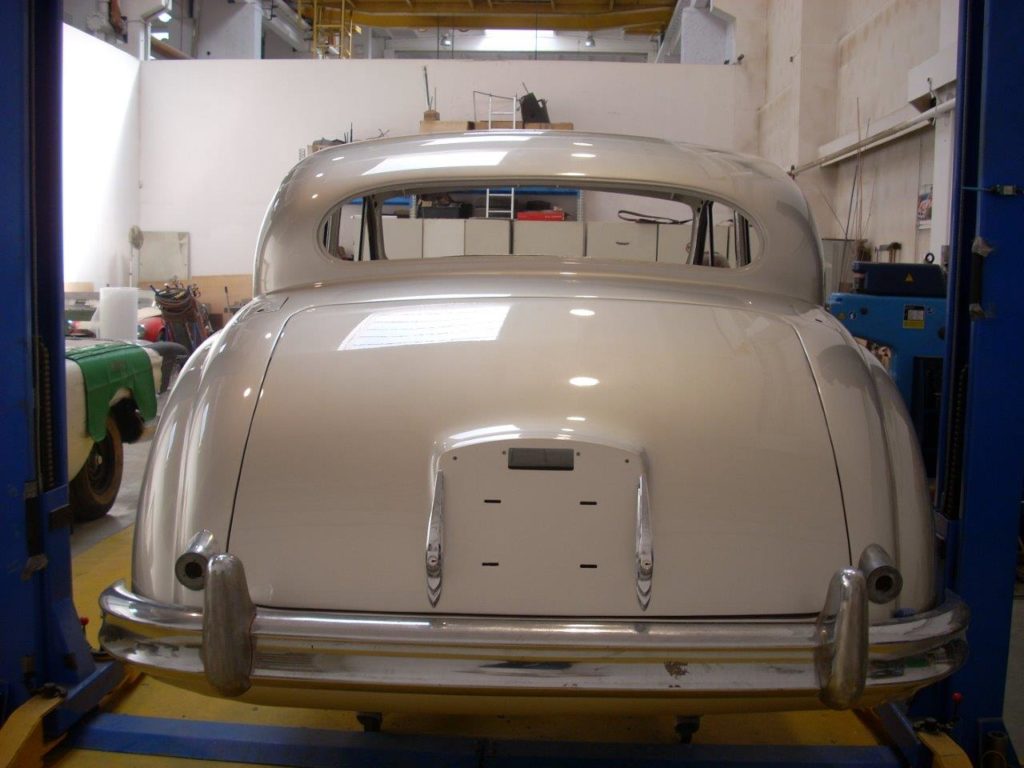
Paintwork
Perfectly repaired bodywork deserves a perfect paint finish. We pay particular attention to a flawless paint coat and a mirror-like finish. The only thing left to you is the choice of colour – from original shades to the latest pearlescent paints.
- 05
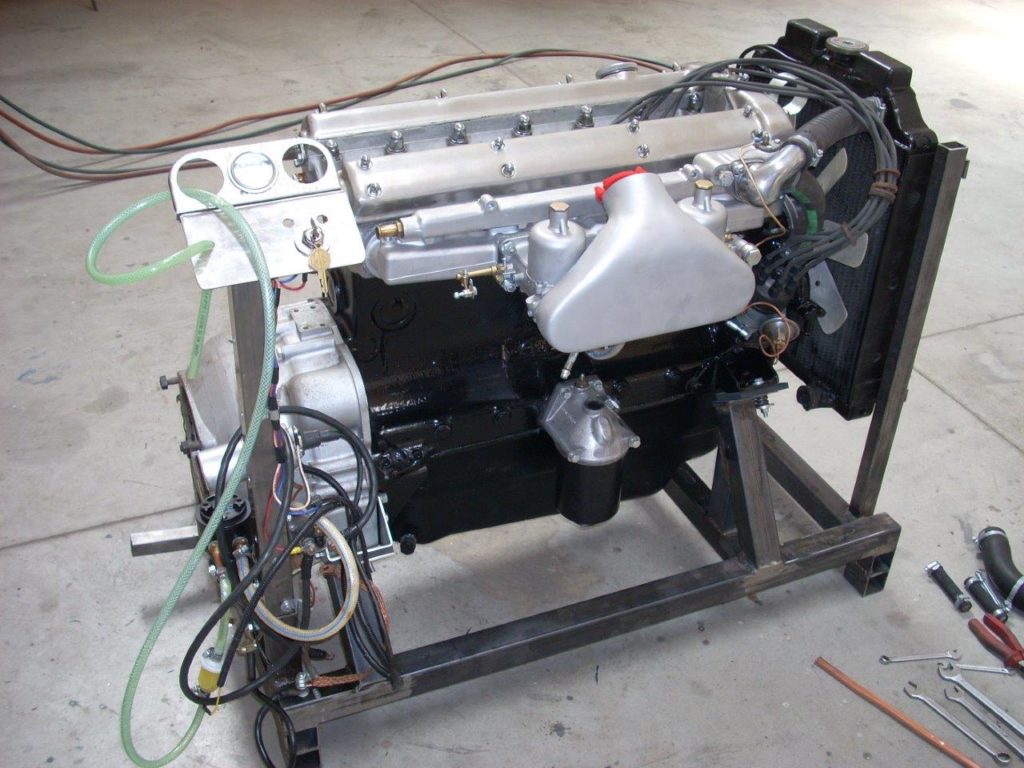
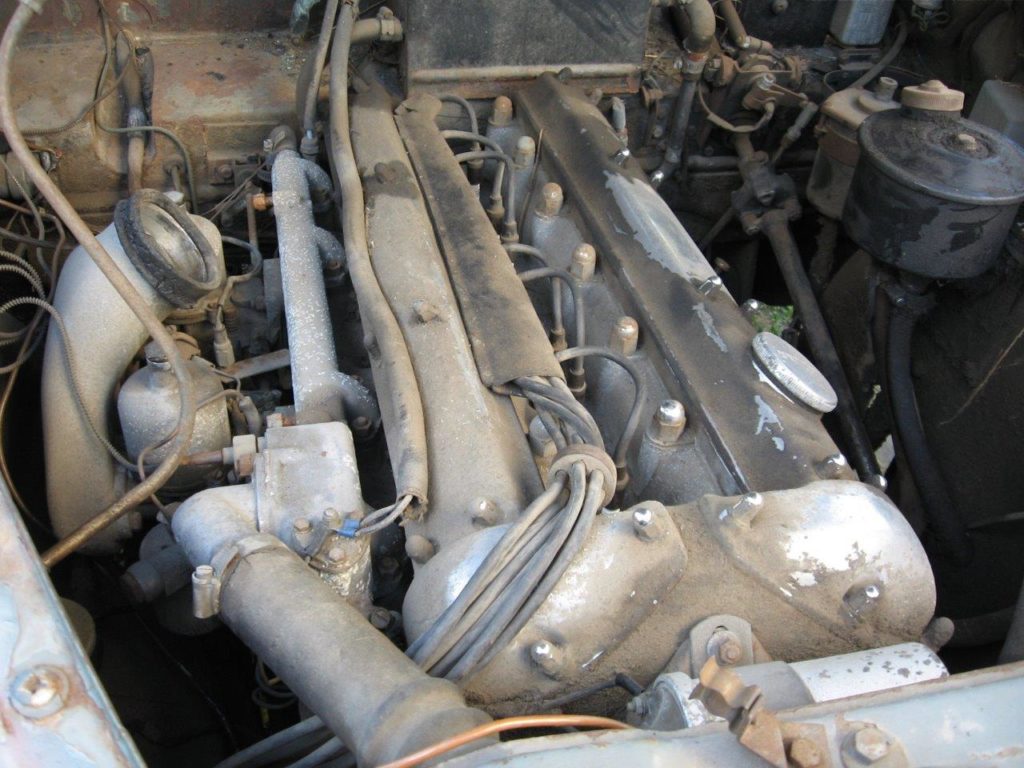
Mechanical repairs
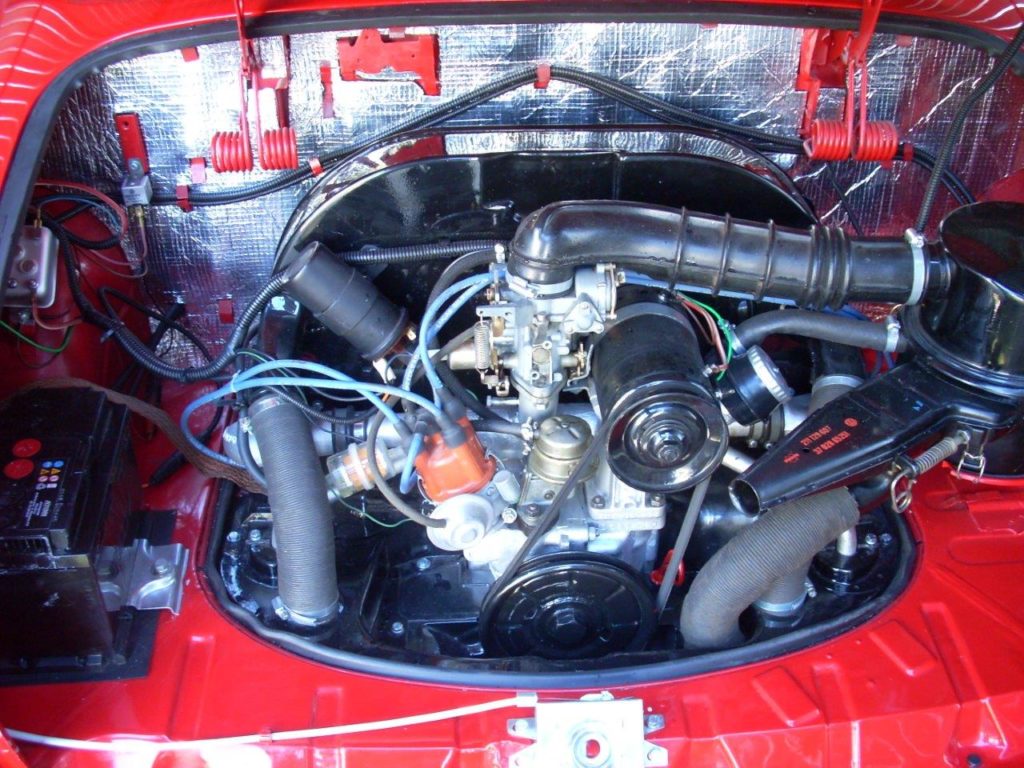
This is the stage for all necessary overhauls: gearbox, engine, carburettor, mechanical and electrical systems. All to give you a fully functional, reliable car.

- 06
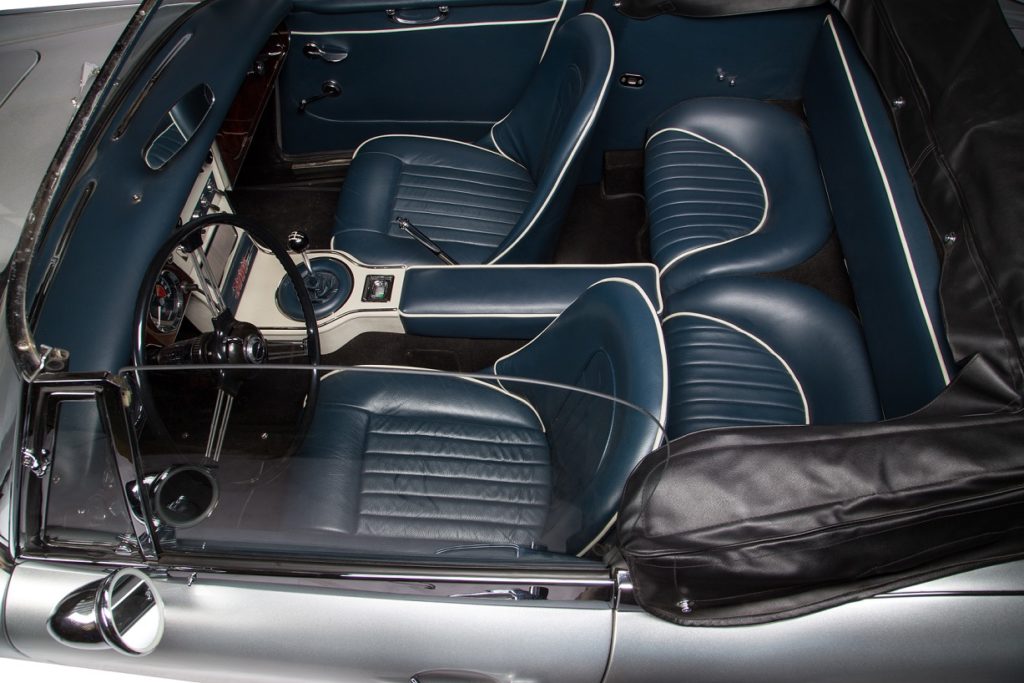
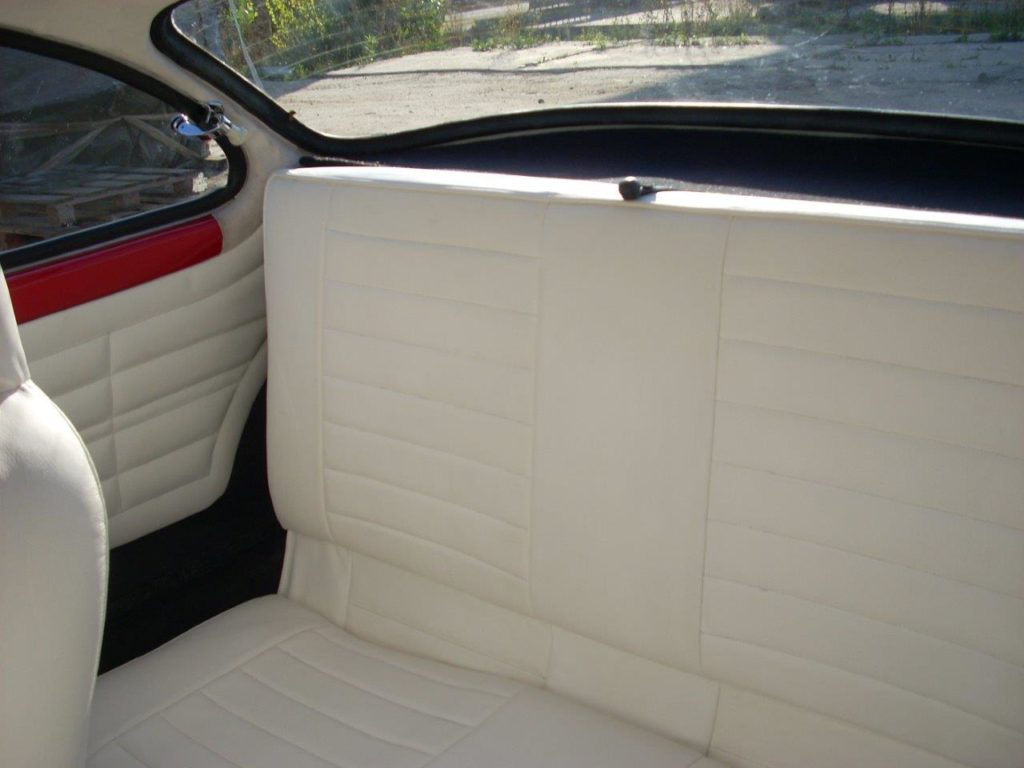
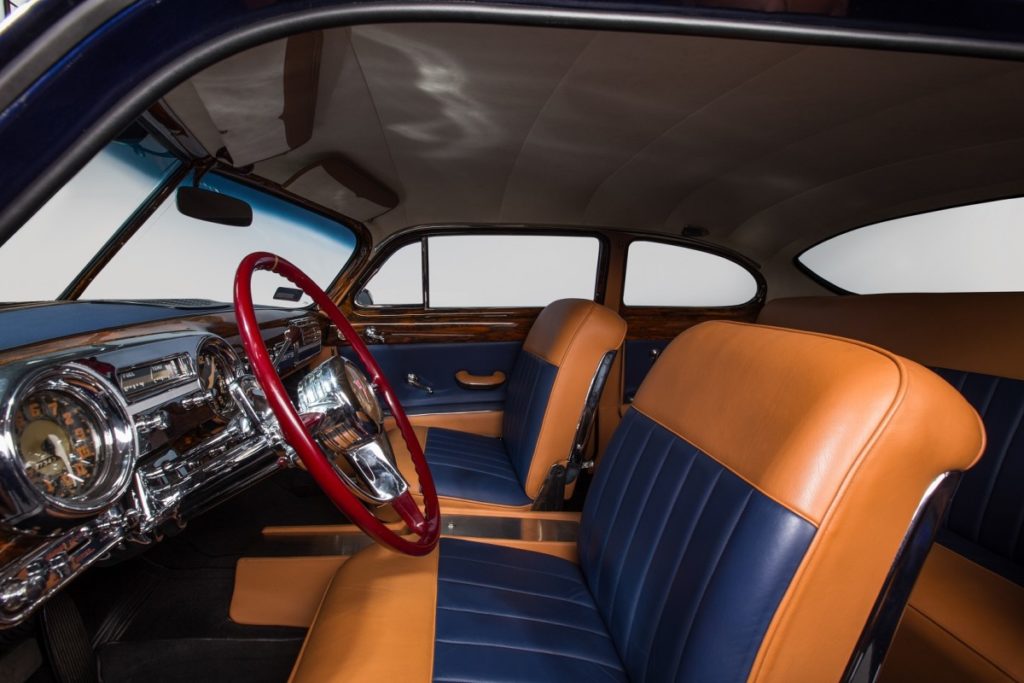
Upholstery
We will renew the upholstery to your requirements: leather or Alcantara, with any emblem embossed on the seats. Exactly as original, or according to your own idea.
- 07
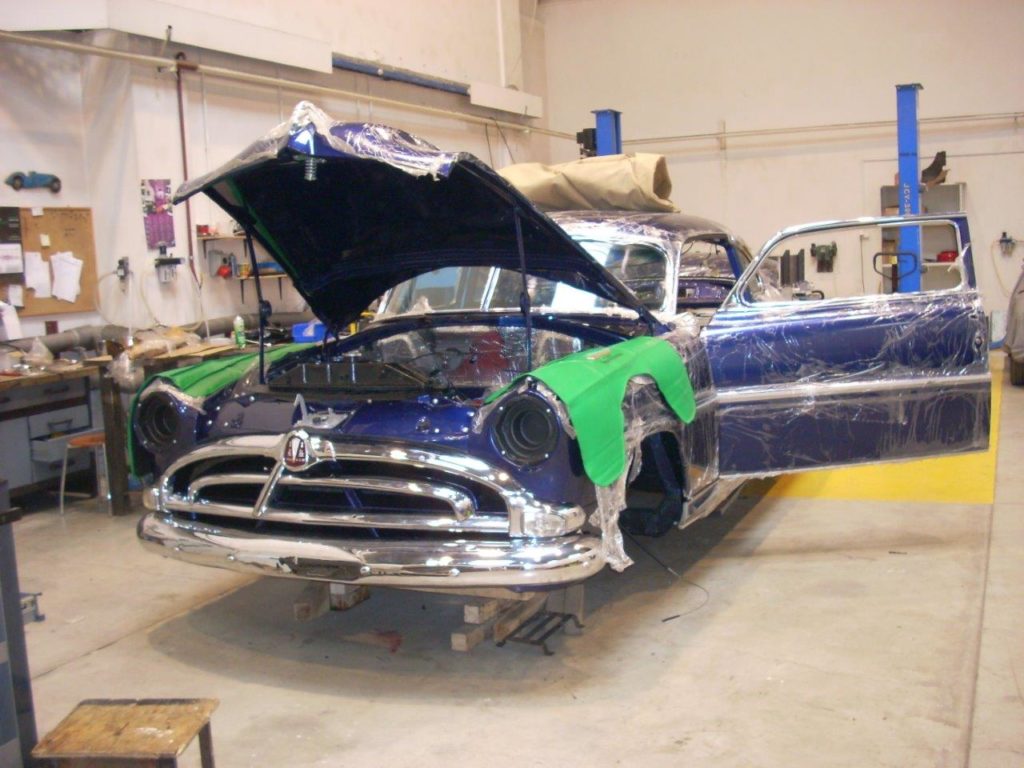
Reassembly
Once all the parts are ready – painted, zinc-plated or chromed – they can be fitted to the car. This is the stage that takes the most time, as new reproduction parts often need to be adjusted to fit the car. Great care is also needed not to scratch or damage anything. Attention to detail is essential here, because it is the only way to achieve a truly stunning result.

- 08
Test drive
After reassembly, every car is tested on the roads near our workshop. Each classic also needs to be run in before it can be used normally.
Got a classic waiting for its second life?
Describe the car and the work you have in mind – we will arrange an inspection and a stage-by-stage estimate.